Outbrain Integration
MaxConv has integrated with Outbrain, the integration provides the following benefits:
- Send conversions (including custom conversions) to Outbrain.
- Synchronize your campaign costs with MaxConv.
- Manage Outbrain campaign status within MaxConv.
Part 1. Setting Up integration
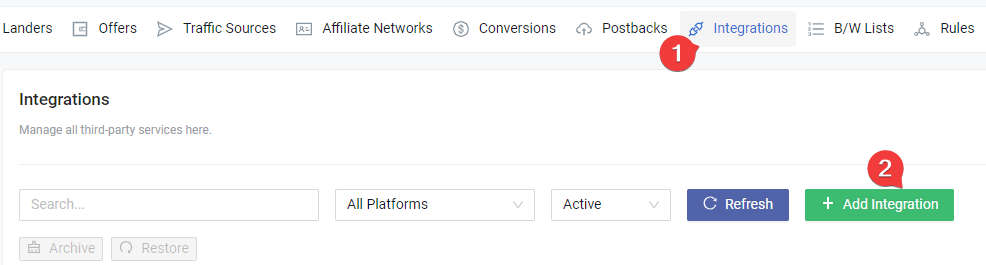
Click on the Integrations menu in the MaxConv dashboard.
Click the Add Integration button.

- On the integration list, click on the Outbrain card.
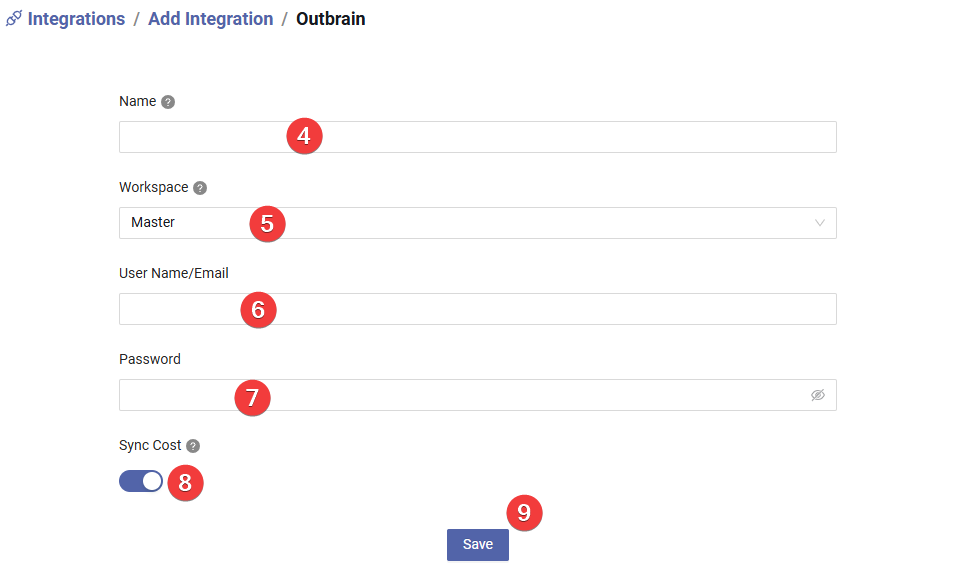
Type the integration name, this is for your personal reference.
Choose the workspace, this is where this integration belongs to.
Enter your outbrain account email address.
Enter outbrain account password.
The reason we need the email and password is to automate the integration. Outbrain API tokens are valid for a period of 30 days, after 30 days the API token will expire, MaxConv can then automatically generate a new API token with the email and password.
Generating a new token does not invalidate older tokens.
Whether do you want to synchronize campaign cost data or not.
Click Save button to create the integration.
Part 2. Setting Up traffic source
The next part is to create a traffic source with the postback URL of integration, so MaxConv can send conversions data to Outbrain.

- Find your integration row in the table, click the Generate button to generate a postback URL.

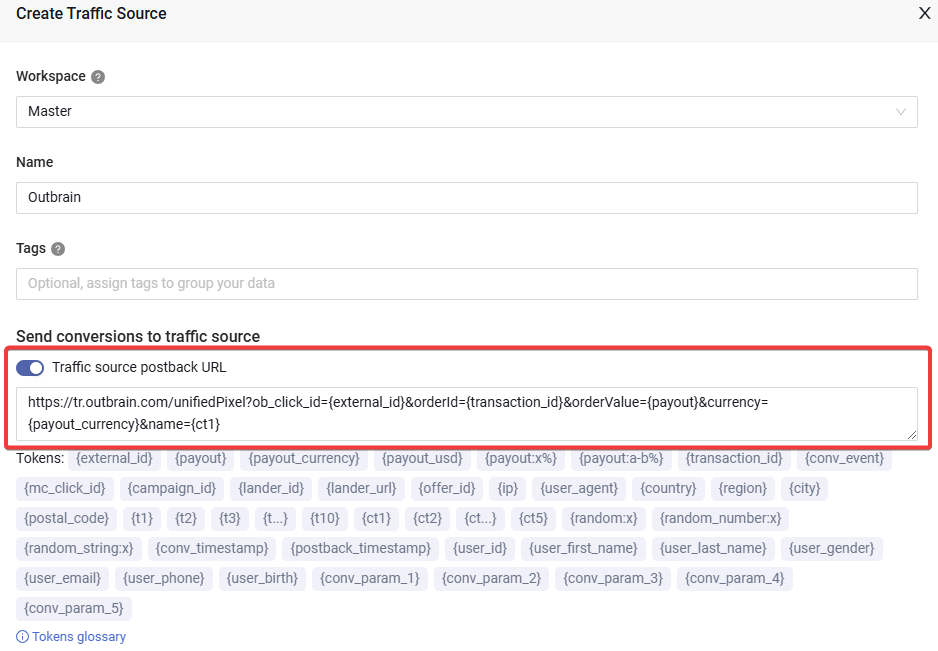
Provide all the necessary data, you can hardcode any value or use the dynamic tokens. We recommend using the dynamic token as shown in the screenshot.
tipThe
{ct1}token is the campaign token 1, use this token in the conversion event so you can send conversions to different event in different campaign.If you want to send to a static event, hardcode the event name, for example: put
Leadinstead of{ct1}Click the Generate button.
Copy the postback URL to any text editor, you will need this URL in subsequent steps.
Go to the Traffic Source menu in MaxConv, click the Create to create a traffic source.
Click the Outbrain card in the template list.
Enable the Traffic source postback URL option and paste the postback URL you copied in step 4 into the text box.
Adjust other settings as needed, and then click the Save button to create the traffic source.
Part 3. Setting Up MaxConv campaign
Now you can start creating campaign in MaxConv.
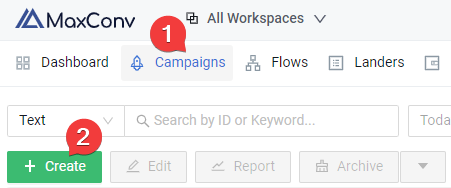
Click on the Campaigns menu in MaxConv dashboard.
Click the Create button.

Choose the traffic source you have created in the Part 2
Type the conversion event name into the Placeholder / Value of
campaign token 1, if you want to send conversions to other conversion event, type other event name here.Add your landers and offers in the Destinations.
Click the Save button to create campaign.
After creating a campaign, you can view the tracking details in the Tracking tab, implement it based on your needs.
Part 4. Setting Up Outbrain campaign
Login to your Outbrain account and create campaign, adjust basic settings, when creating ad, paste the Campaign URL you copied from the Tracking tab of campaign, paste it to ad settings.
Part 5. Match the MaxConv campaign with Outbrain campaign
To enable cost synchronization, you need to match the MaxConv campaign with a Outbrain campaign so that MaxConv knows where to pull cost data, to start campaign matching, perform following steps.
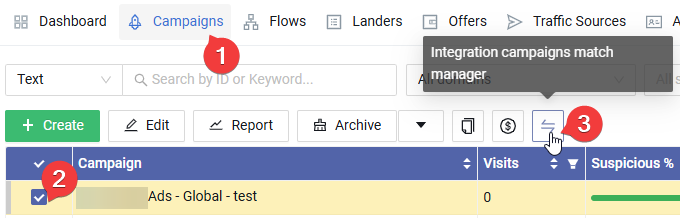
Click on the Campaigns menu in MaxConv dashboard.
Check the campaign that you want to match.
Click the Integration Campaign Match Manager button.
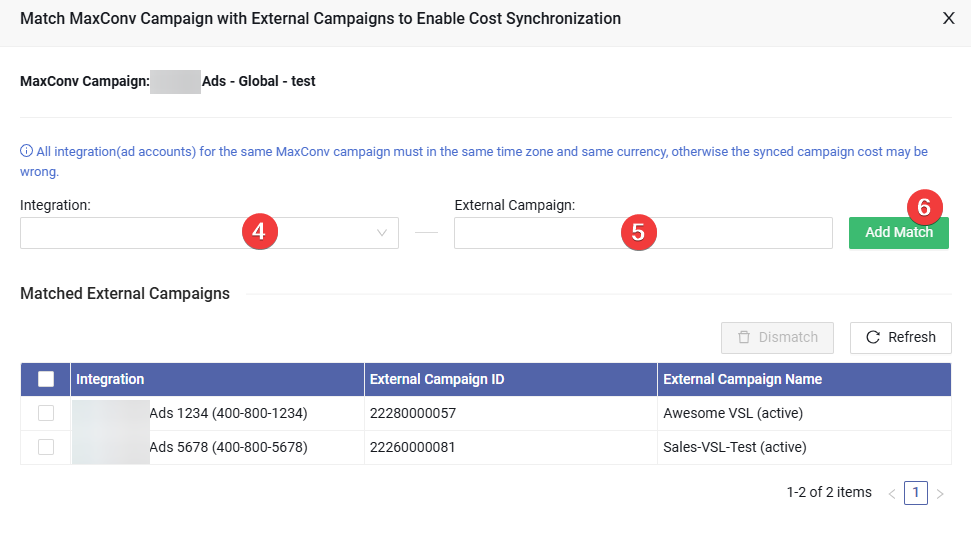
Choose the integration, MaxConv will try to pull a campaign list from that integration, wait until it loaded.
Choose all the campaigns that you want to match, you can choose multiple campaigns at a time.
Click the Add Match button to save the matching.
Once matched, you will see a Outbrain icon in front of the campaign name in the Campaigns section of the MaxConv dashboard, and MaxConv will begin synchronizing cost data within an hour.
![]()
Manage campaign status in MaxConv
To manage Outbrain campaign status within MaxConv, follow these steps:
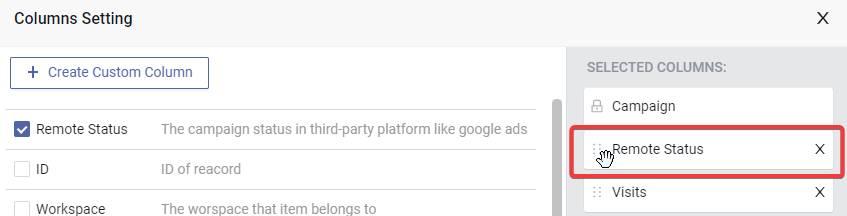
- Click the Columns setting at the top right of the table.

- Enable the Remote Status column, drag it to the top, then click the Apply button.
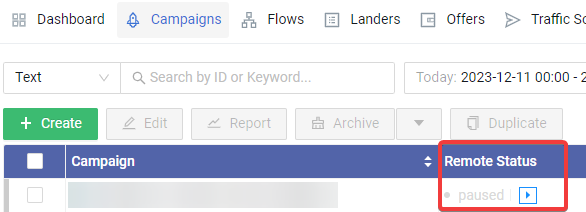
- You can now view the Outbrain campaign status, as well as start or pause it by clicking the "play" or "pause" icon.
FAQ
Have questions? Check Integration FAQ